A boat propeller is constantly subjected to stress from water and debris, making proper maintenance essential for smooth operation and optimal performance. Knowing the correct procedure helps boat owners avoid common mistakes that can cause costly damage and slow down the vessel. Learning how to change a boat propeller yourself saves time and keeps your boat ready for every water adventure.
Why Changing Your Boat Propeller Correctly Matters
Changing your boat propeller with accuracy maintains peak engine efficiency and prevents serious damage to your vessel’s drivetrain components. An improperly installed propeller causes vibrations that wear out shaft bearings and seals quickly, leading to expensive mechanical failures. Correct installation also prevents unexpected breakdowns during trips, ensuring a safe and enjoyable experience for everyone aboard your marine craft. Proper maintenance prolongs the lifespan of your entire propulsion system, saving significant money on future repairs.
Tools Needed to Replace a Boat Propeller Safely
Gathering the right tools before you begin the propeller replacement process ensures a smooth and safe operation for all boat owners. You require a propeller wrench or socket set, a large adjustable wrench, a block of wood, and a cotter pin puller to complete this task. Always wear sturdy work gloves and safety glasses to protect your hands and eyes from potential hazards during the removal and installation steps. Having all necessary items close at hand prevents unnecessary delays and frustrations.
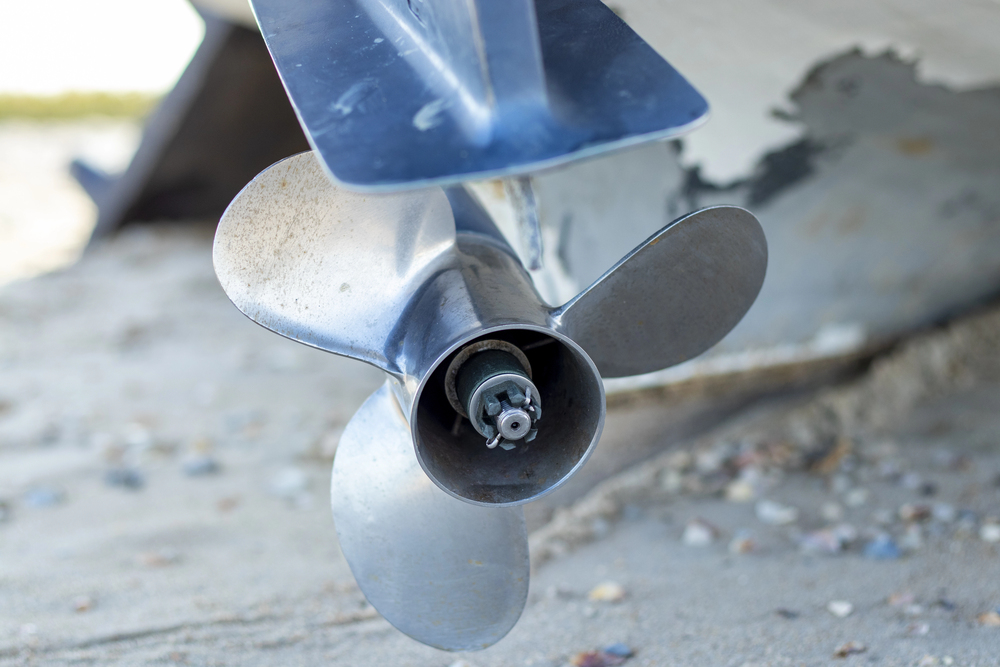
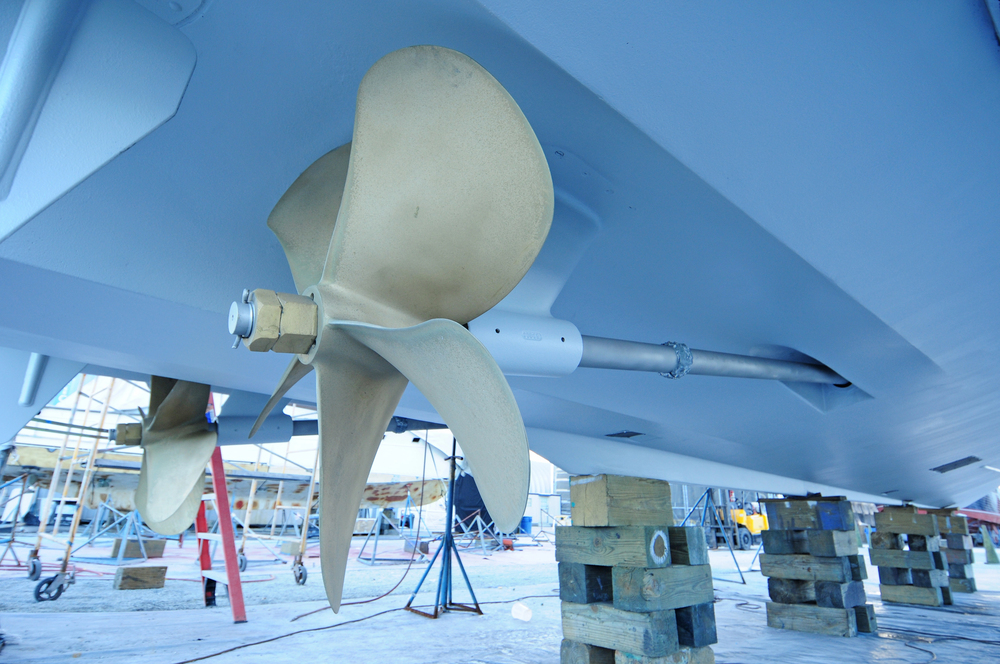
Step-by-Step Guide to Remove Old Boat Propeller
Removing an old boat propeller requires careful attention to detail to prevent damage to the propeller shaft or the new propeller itself. First, remove the cotter pin that secures the propeller nut in place using your cotter pin puller tool. Next, loosen the large propeller nut with a specialized propeller wrench, being careful not to strip the threads. Finally, carefully slide the old propeller off the shaft, ensuring no parts fall into the water.
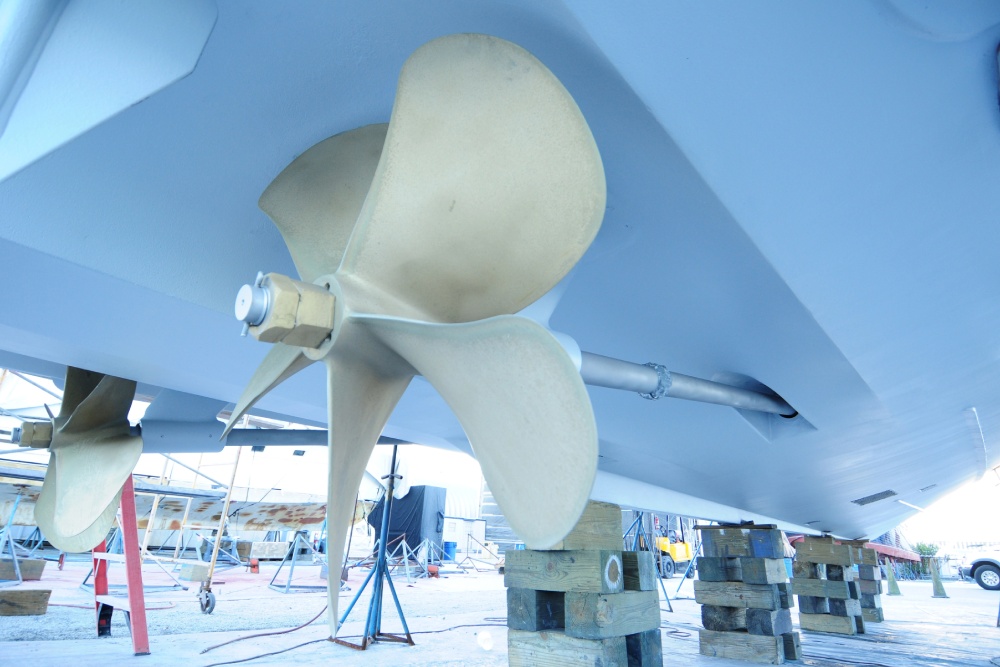
How to Install a New Boat Propeller Properly
Installing a new boat propeller correctly ensures balanced operation and maximum thrust for your marine vessel. First, clean the propeller shaft thoroughly and apply a thin layer of marine-grade grease to prevent corrosion and facilitate future removal. Slide the new propeller onto the shaft, aligning the splines carefully, and then replace the thrust washer and propeller nut. Tighten the propeller nut securely and insert a new cotter pin to prevent the nut from loosening during use.
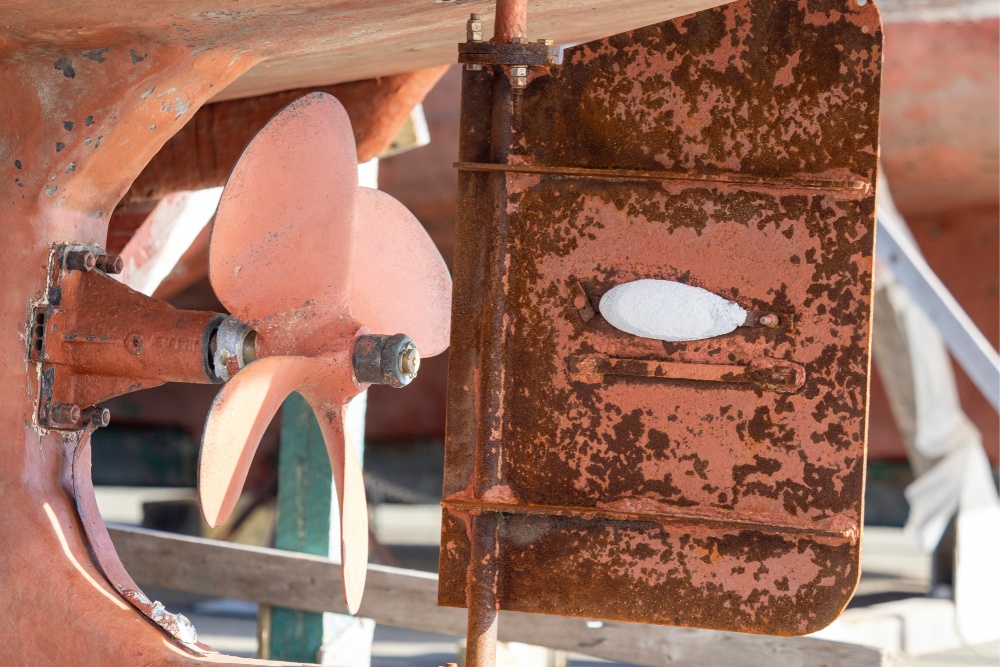
Tips for Maintaining Boat Propellers After Replacement
Regular maintenance of your boat propeller after replacement significantly extends its lifespan and preserves your vessel’s performance. Always rinse your propeller with fresh water after each use in saltwater to prevent corrosion and salt buildup. Frequently inspect the propeller for any signs of damage, such as dings, bends, or cracks, which reduce efficiency and cause vibrations. Addressing minor issues promptly avoids larger, more costly repairs down the road and keeps your boat running smoothly.
Call Our Marine Propeller Repair Experts in Florida
Your vessel deserves the best care, and we offer specialized services that keep your boat operating at its peak. We understand the unique demands of marine environments and provide comprehensive solutions for all your vessel’s underwater needs.
Our team at Hull 2 Prop offers top-tier marine propeller repair, restoring your propeller’s original performance and efficiency. Contact us today for reliable and effective solutions that stand the test of time.